Laundry-to-landscape (L2L) System with Exterior Wall
The laundry room in this house has an exterior wall, so the greywater pipe travels directly outside.
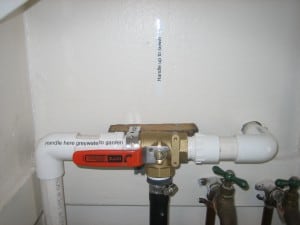
The hose from the washing machine is connected to a 3-way diverter valve, which controls the flow of greywater. The valve directs greywater to the sewer/septic system or outside to the greywater irrigation system. Labeling the valve is important so anyone using the system will know where they are sending the greywater.
The greywater pipe travels out through the wall (the 1″ pipe requires a 1.5″ hole). When drilling, make sure not to damage anything that may be inside the wall (eg. electrical wires, water pipes, or structural features of the building). Seal the hole from the outside to prevent moisture, air, or bugs from getting into the house.
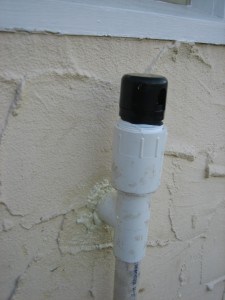
An auto-vent (also called an AAV or in-line vent) is installed at the high point in the greywater line (before the pipe travels downwards). This vent allows air to enter the system and prevents a potential siphoning of water from the washing machine. If you live in a freezing climate make sure it’s rated for your temperatures, or install it inside the house.
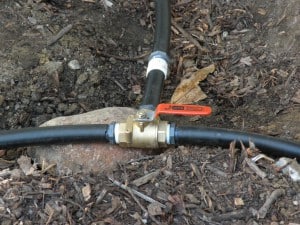
(Optional) If the system produces too much greywater to distribute in one zone, a second 3-way diverter valve can be used in the landscape to create two zones. By turning the red handle, greywater can be directed to two separate areas. Consider this option only if you can imagine yourself going outside and switching the valve each week for the next 10 years (most people won’t).
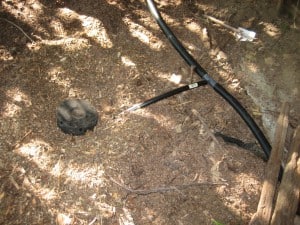
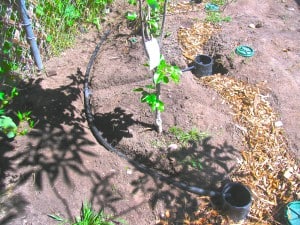
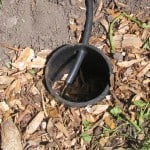
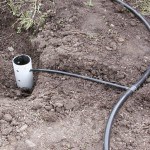
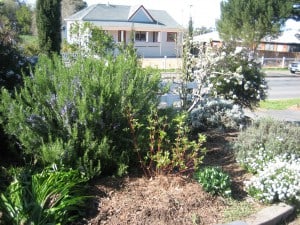
Each outlet of greywater is discharged into the mulch shield. California code requires the greywater outlet discharges 2″ below the top of the mulch shield, other states allow surface irrigation, and others require deeper distribution.
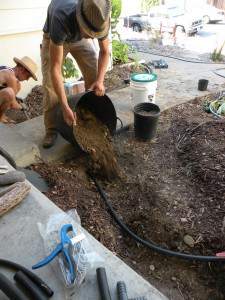
This images shows the system during construction. To complete it the 1″ line will be buried and the mulch basins filled up with woodchips. The mulch shield can be covered by a paving stone for asthetics.
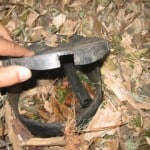
Options for outlet covers (aka mulch shields)
- Irrigation valve box: Purchasing an irrigation valve box makes the most sturdy and long-lasting outlet cover.
- Section of 4″ drain pipe: Using a section of large diamteter drain pipe (then covering the top) also creates a sturdy outlet.
- Plastic flower pot: The lowest cost method, using a sturdy plastic flower pot, is a great way to recycle materials, but it will need to be replaced every other year (most flower pots cave in or become damaged after a year or two).

